Creating a multilingual WordPress website starts with proper planning from the very beginning. Problems with translations, language settings, or the placement of a language switcher can confuse visitors and make the website more difficult to navigate. Following a clear process helps keep the setup simple and avoids common mistakes.
The goal is to configure languages correctly and ensure that every version of the website functions smoothly across all pages. When everything is properly connected, visitors can easily switch languages without affecting the site's layout or their overall user experience.
Why Are Multilingual Websites Important?
A multilingual website allows visitors to access your content in the language they understand best. This can improve user experience, increase engagement, and make your website more accessible to an international audience. Businesses, blogs, and online stores often use multilingual setups to reach users from different countries without creating separate websites.
WordPress simplifies this process through plugins specifically designed for language management and translations. Popular multilingual plugins include WPML, Polylang, and TranslatePress. Properly configuring your language plugin from the start helps prevent technical issues later on.
Step 1: Choose a Multilingual WordPress Plugin
The first step is selecting a multilingual solution that matches your website's needs. There are many plugins available for creating a multilingual WordPress website. In this guide, we will use WPML as an example because it offers advanced translation management, multilingual SEO support, and compatibility with most WordPress themes and plugins.
The first step is selecting the right multilingual tool for your website. There are various plugins available for building a multilingual WordPress website. In this guide, we will use WPML as an example because it provides advanced translation management, multilingual SEO capabilities, and broad compatibility with popular WordPress themes and plugins. Before implementation, it is recommended to verify compatibility with your theme, page builder, WooCommerce extensions, and other critical website plugins.
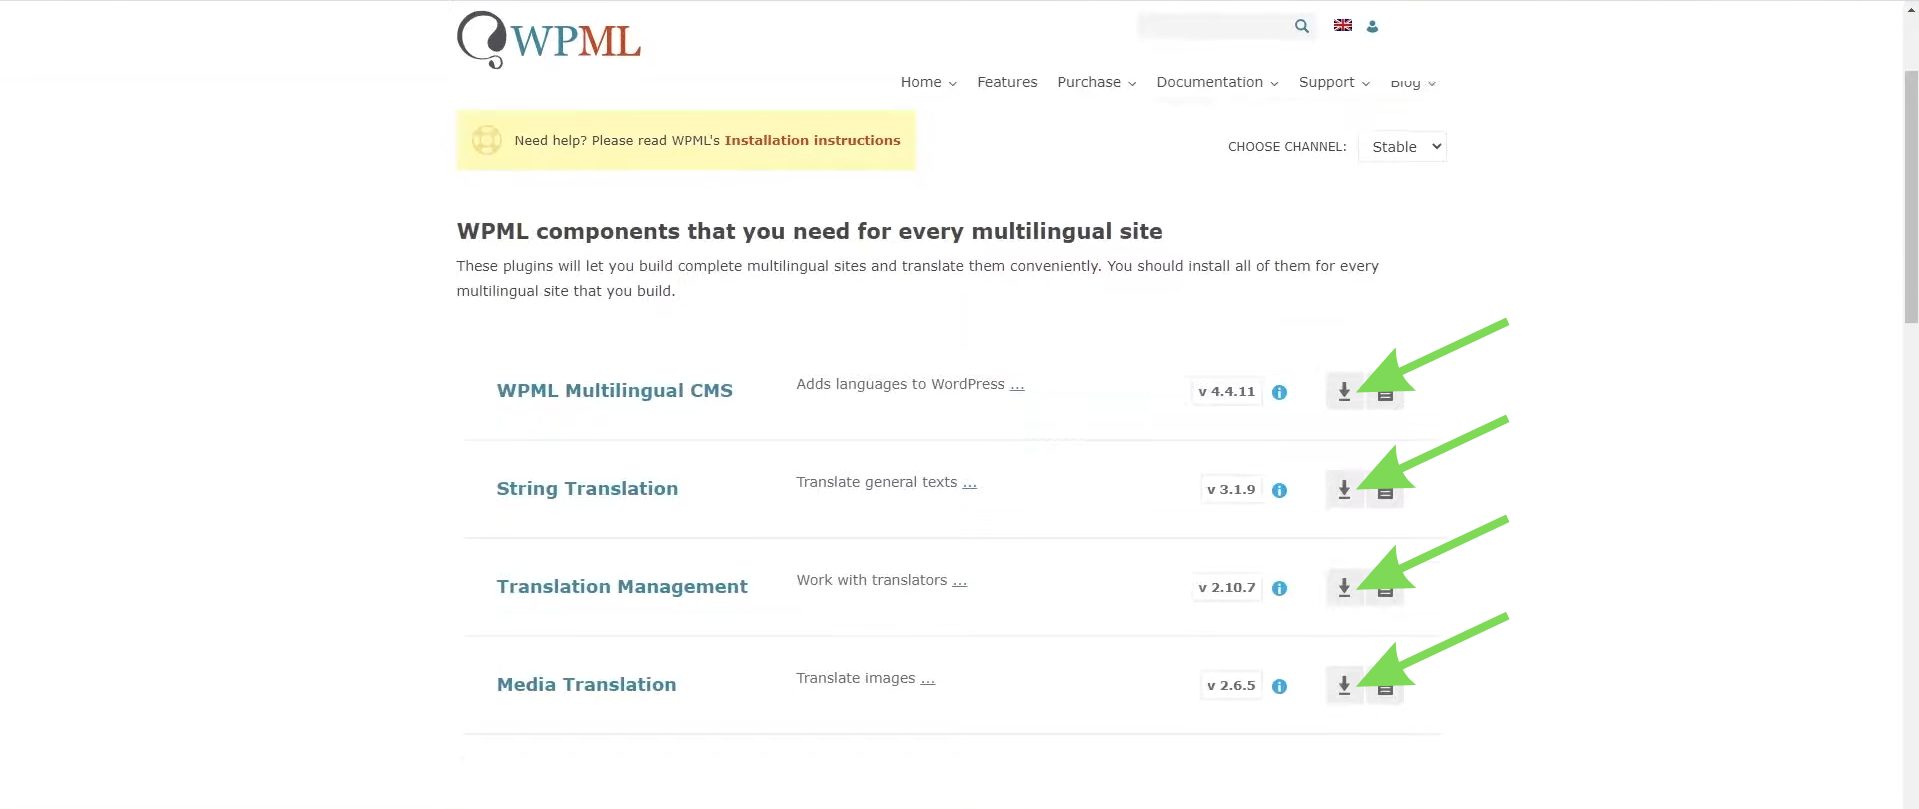
After choosing WPML, download the plugin files from your WPML account.
Once you have selected WPML, log in to your WPML account and download the OTGS Installer plugin. After activating it, you can register your website and install the required WPML modules directly from the WordPress dashboard, without uploading each component separately.
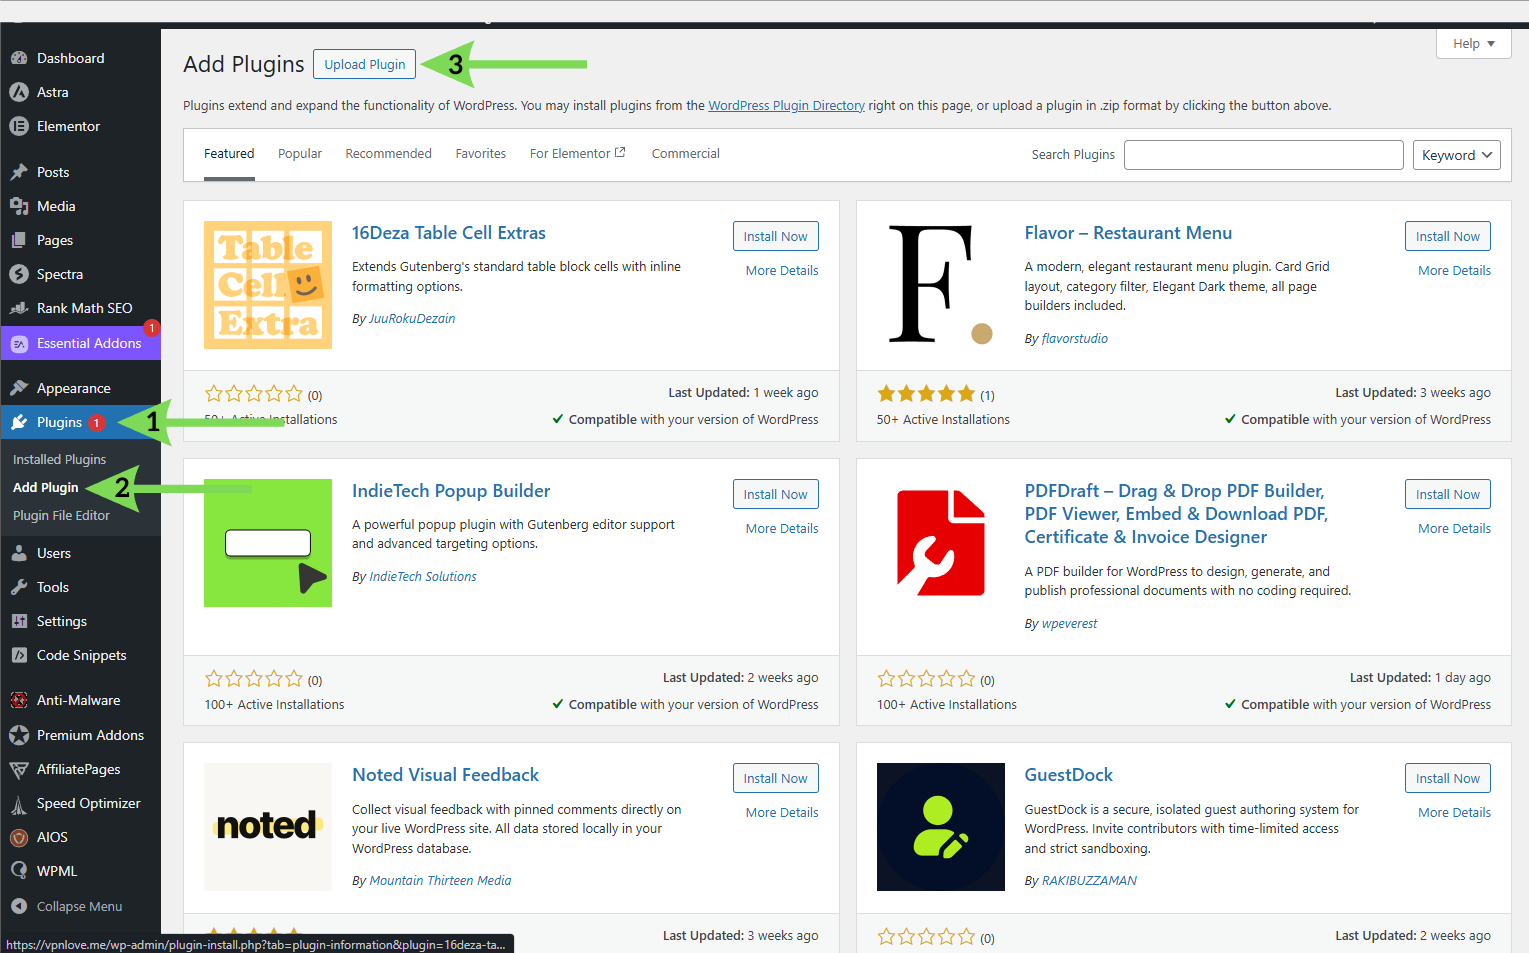
Next, upload the files through the Plugins section in your WordPress dashboard.
After activating WPML, configure languages and multilingual settings directly in WordPress.
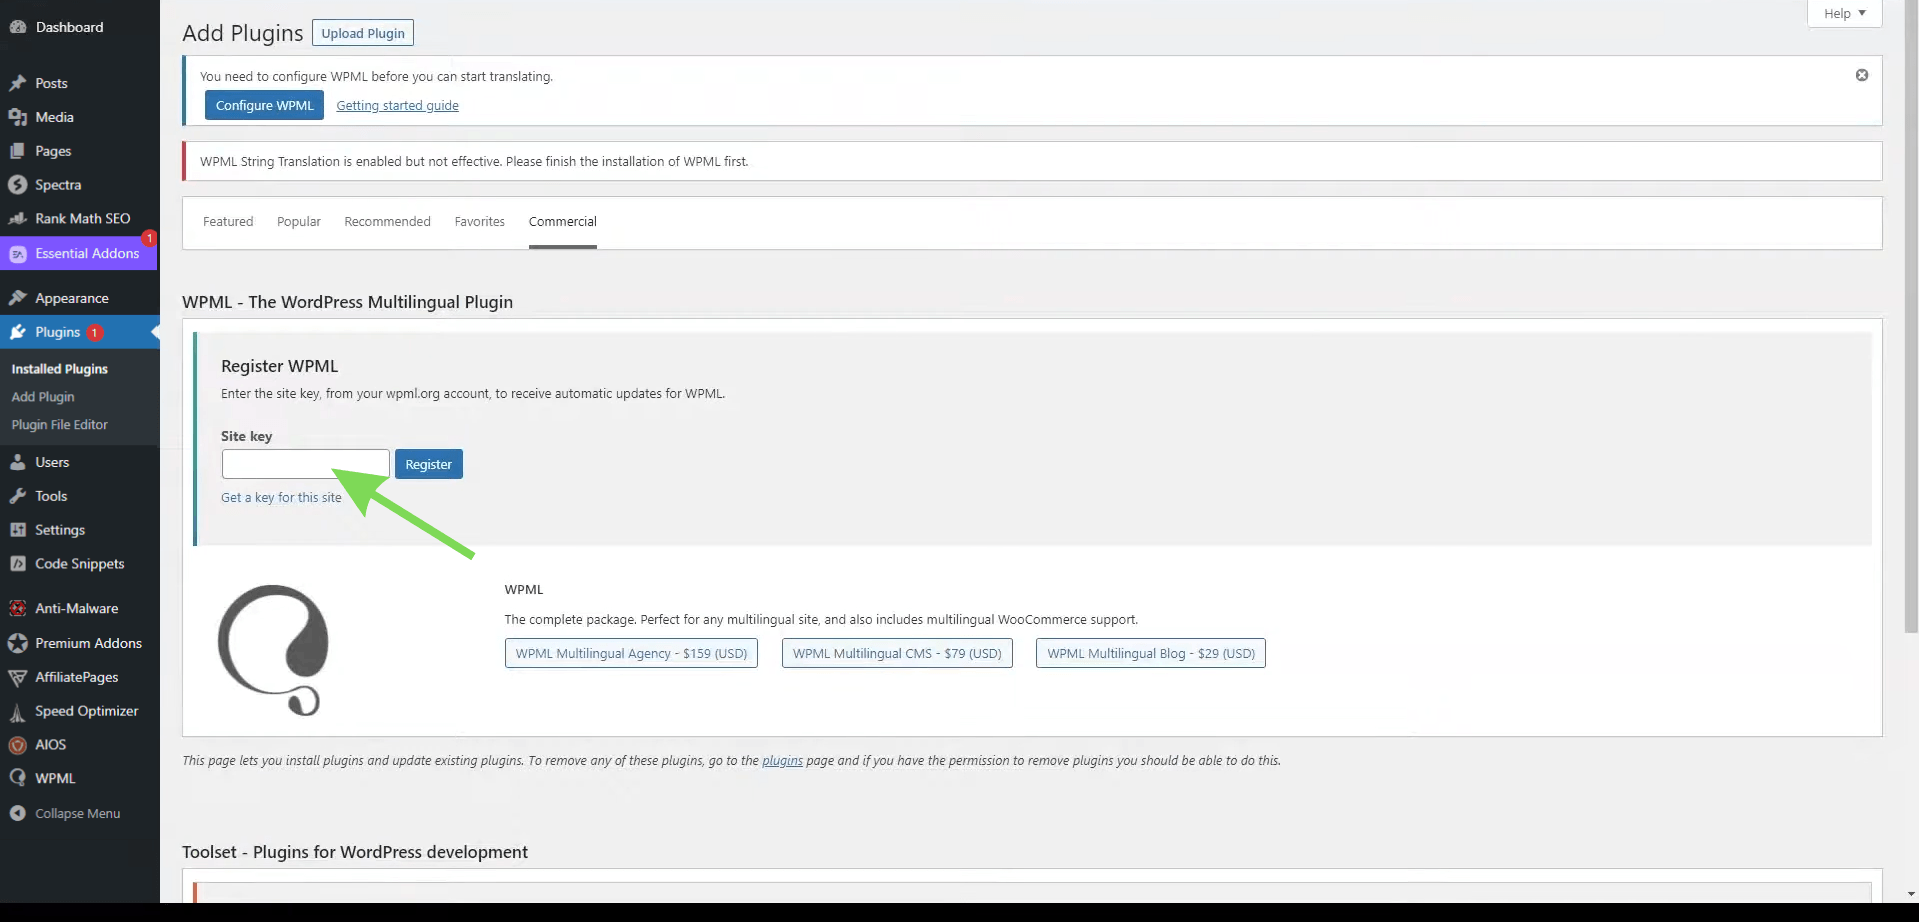
Step 2: Register the WPML Site Key
After uploading and activating the WPML plugin in WordPress, register your website by entering a site key from your WPML account.
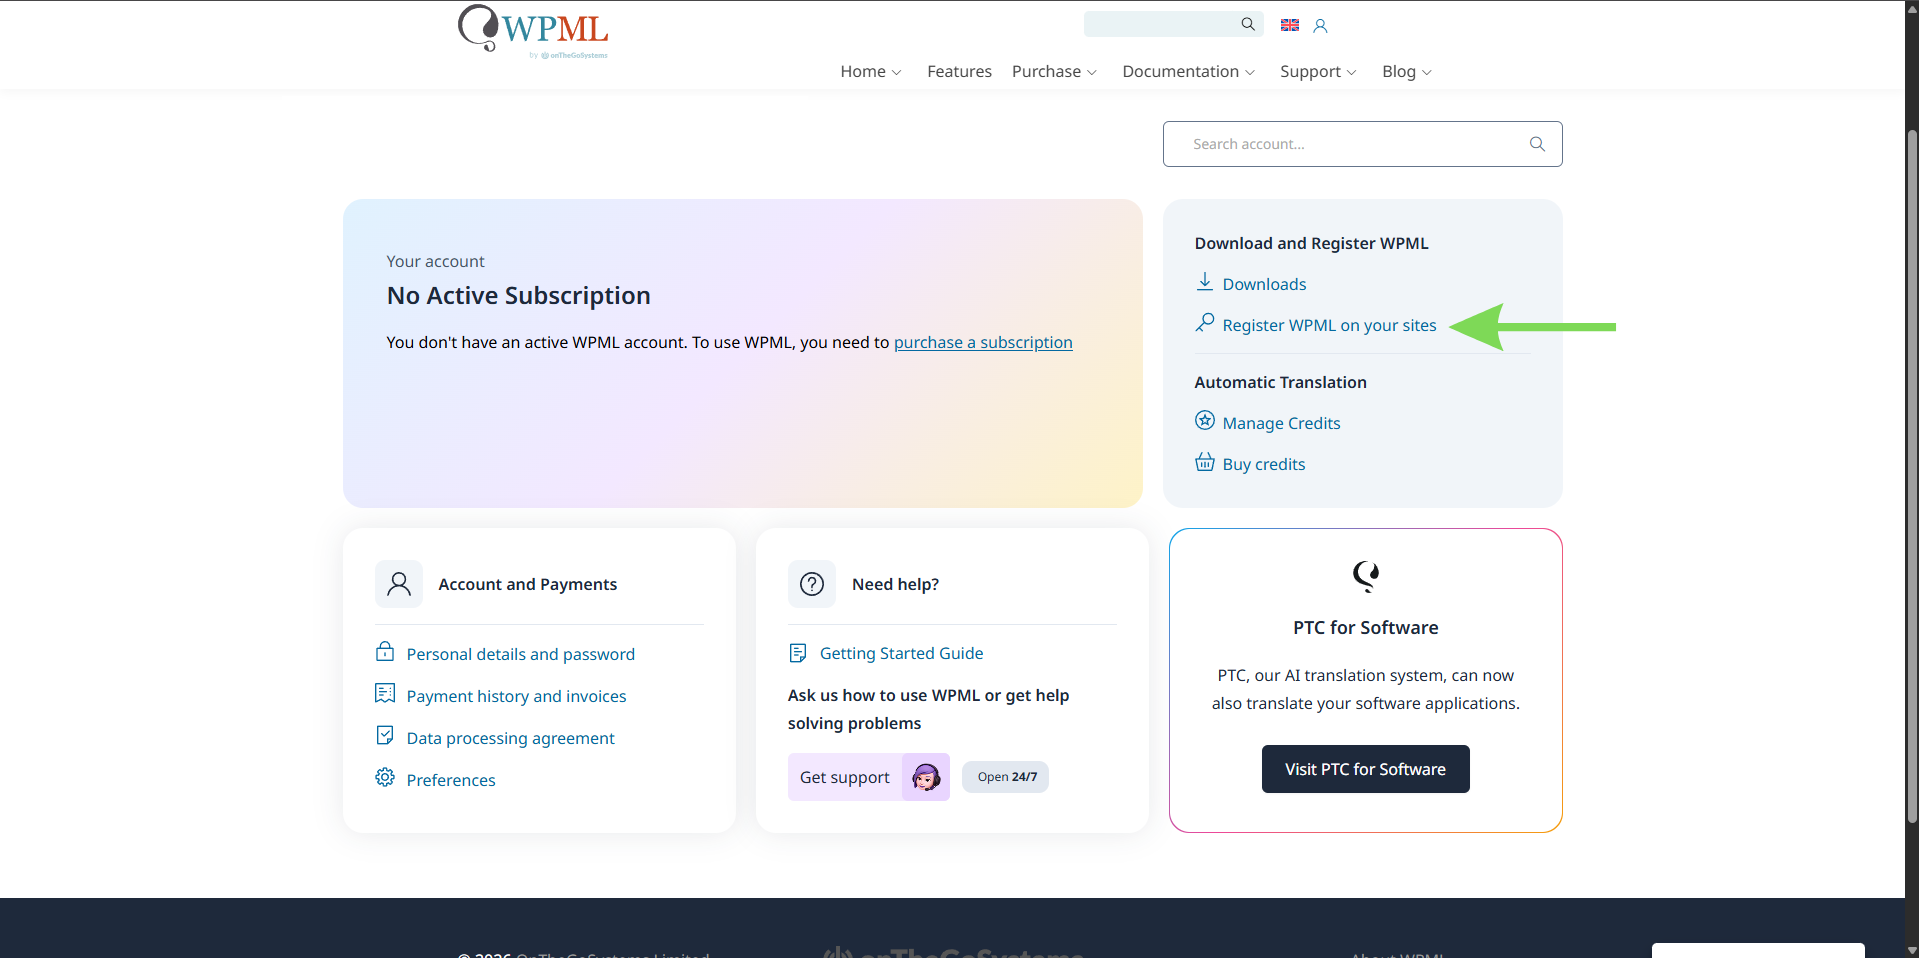
Once WPML is activated, register your website within your WPML account to generate a site key. Then copy the generated key and paste it into the WPML settings in WordPress. Registration enables automatic updates and access to additional WPML components.
Copy your website URL and paste it into the site key registration section within your WPML account.
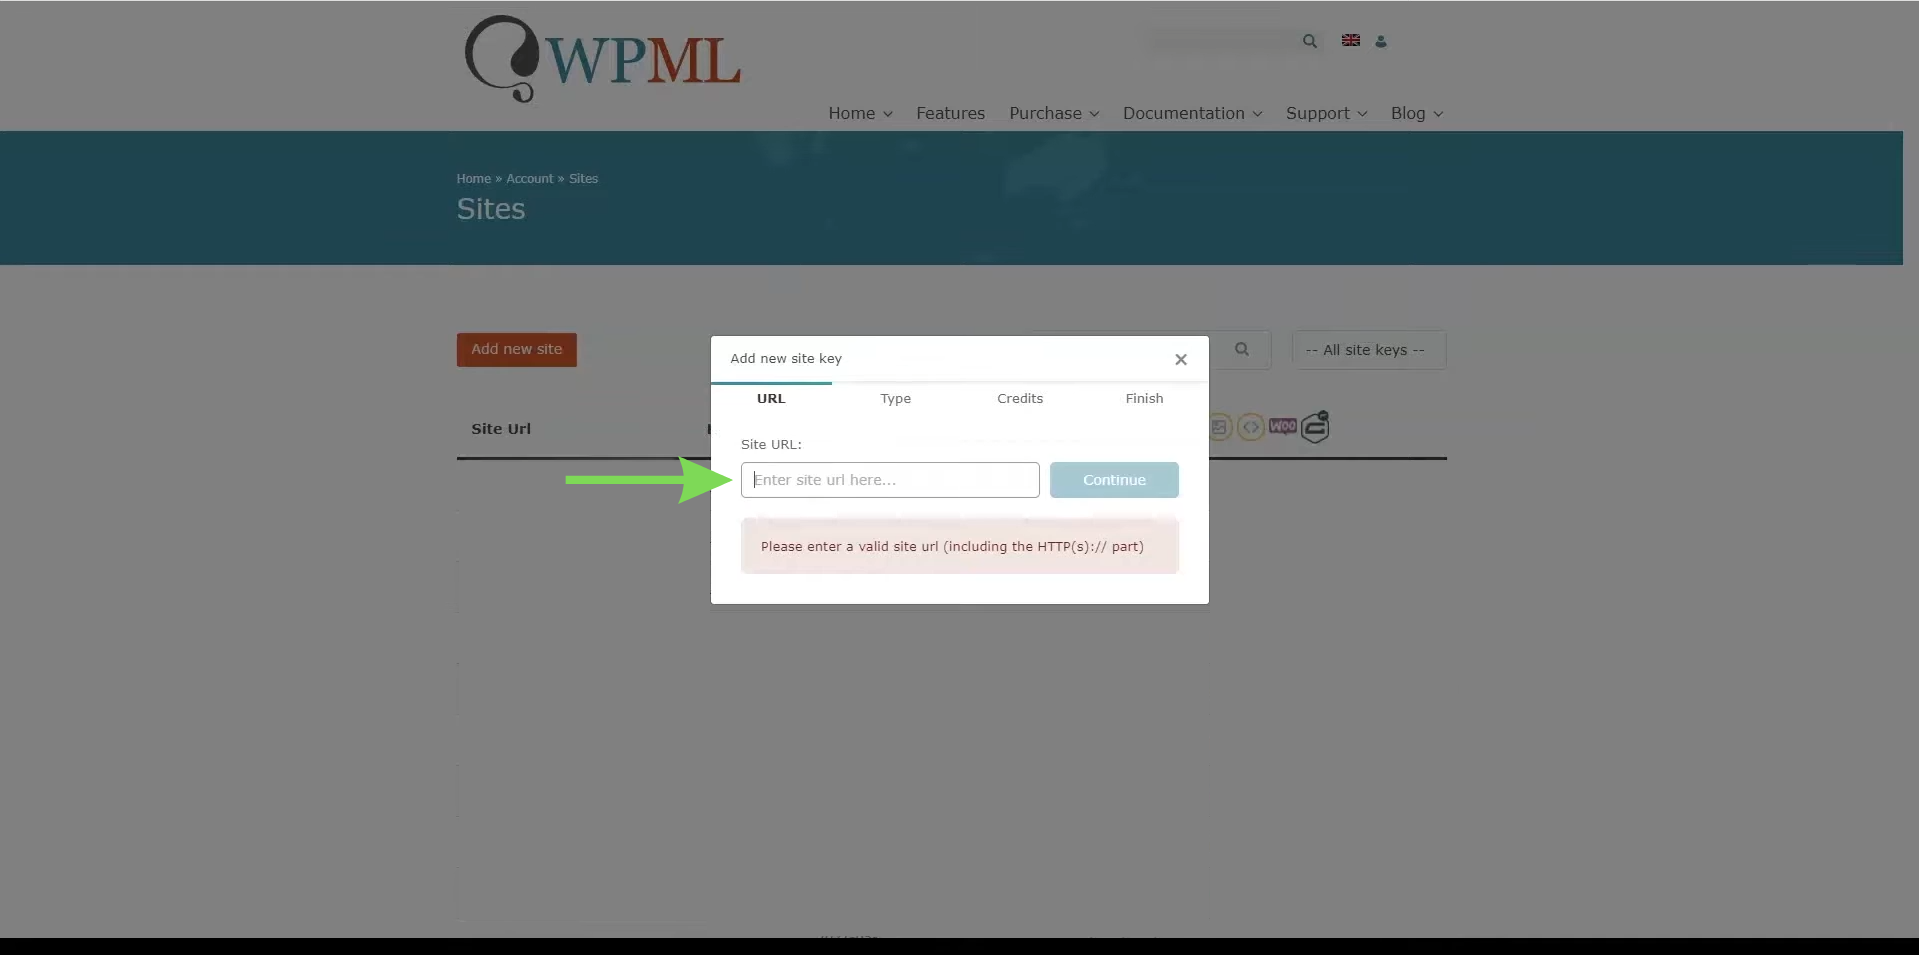
Copy the generated key and paste it into the WPML plugin registration section in the WordPress dashboard before continuing with language configuration.
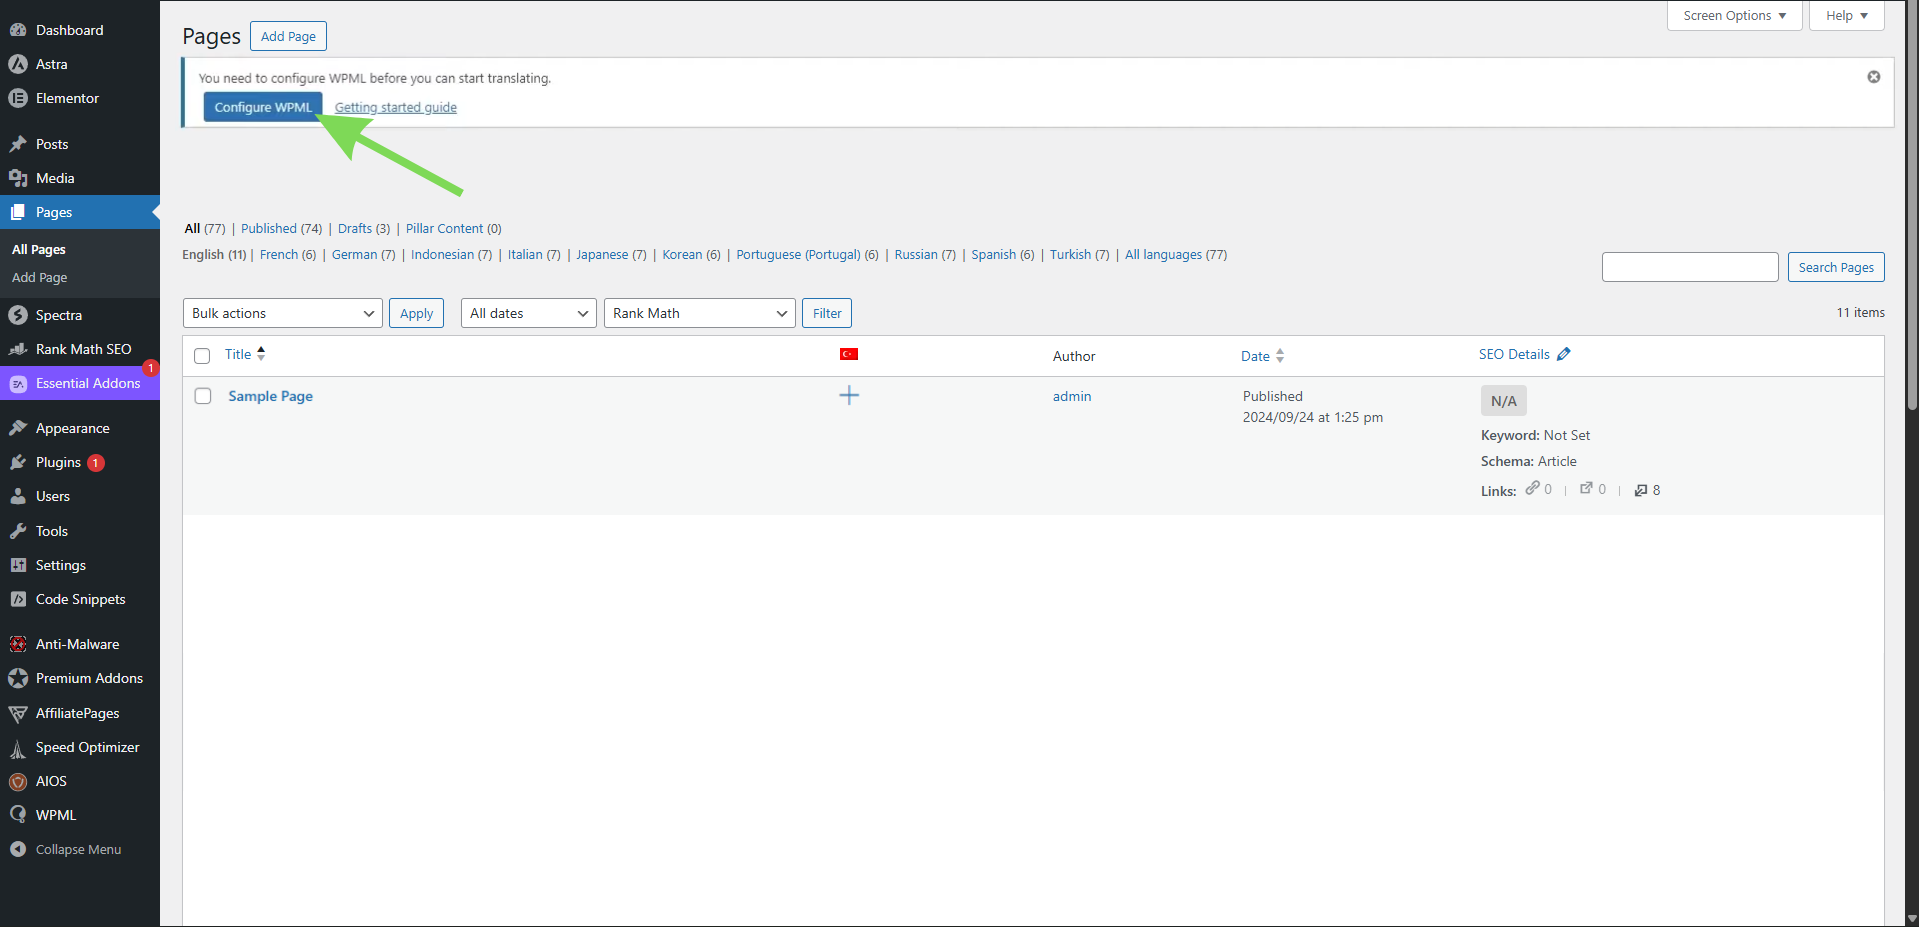
Step 3: Configure Translation Preferences and Languages in WPML
After registering WPML, the next step is to configure translation preferences and language settings within the WPML dashboard. You can manage translation options, choose how languages are displayed on the website, and organize multilingual navigation. Proper WPML configuration helps ensure translated content is structured correctly and displayed properly across all language versions of the website.
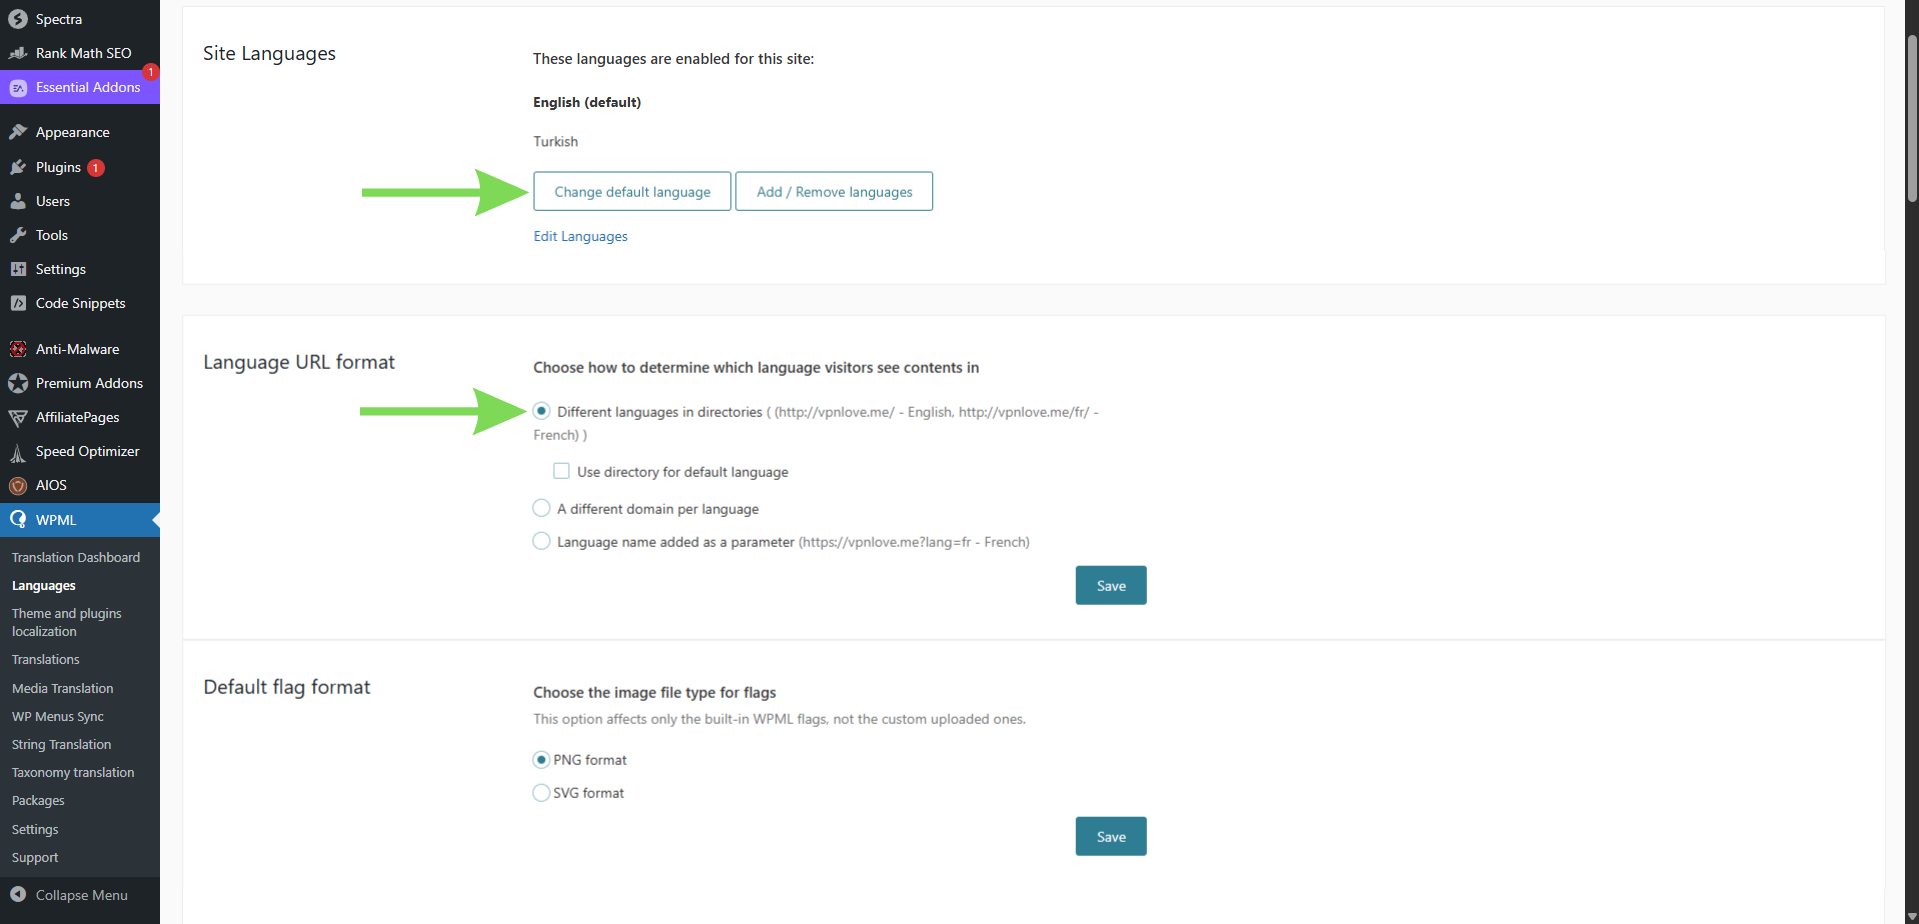
Step 4: Translate and Optimize Your Multilingual WordPress Website
To configure multilingual settings, navigate to the WPML plugin in your WordPress dashboard and open the Languages section.
From there, you can add your preferred languages and configure how translated versions appear on the website. Many multilingual websites use the “Different languages in directories” option. This creates cleaner URLs that are easier for both visitors and search engines to understand.
It is also important to review multilingual SEO settings. These include:
- Translation of meta titles and meta descriptions;
- Creating language-specific URLs;
- Verifying that search engines properly index each language version.
WPML supports multilingual SEO features such as hreflang tags and translated sitemaps, helping search engines understand the relationship between translated pages.
WPML further enhances multilingual SEO through integration with plugins such as Yoast SEO and Rank Math. When combined with the WPML SEO add-on, you can translate SEO metadata, manage hreflang attributes, and accurately represent language versions in XML sitemaps, helping search engines better understand the structure of your multilingual website.
Step 5: Add HTML Language Attributes
In most WPML configurations, there is no need to manually add HTML language attributes, as WPML automatically inserts them based on the language of each page. These attributes help browsers, screen readers, and search engines identify whether a page is in English, Spanish, French, or another language. For example, an English page may use html lang="en", while a Spanish page may use html lang="es".
To verify this, open a translated page, right-click, and select “View Page Source”. Look for the HTML lang attribute near the beginning of the source code. If WPML is configured correctly, each translated version should display the appropriate language code.
Step 6: Test and Launch Your Multilingual Website
Before publishing your website, test each language version to ensure that pages, menus, forms, and links function correctly. It is also important to review the mobile version to ensure translated content displays properly across devices and screen sizes.
Carefully review all translated content to avoid incomplete translations, layout issues, or broken navigation. Regular updates and translation reviews help keep a multilingual website accurate, consistent, and user-friendly over time.
Conclusion
Creating a multilingual WordPress website is an effective way to reach a broader audience and provide a better experience for visitors from different regions. By following the correct setup process—from choosing a multilingual plugin to translating content and testing the website—you can build a site that is both user-friendly and easy to manage.
At Jump.bg, we understand that multilingual websites require reliable hosting and stable performance to effectively serve visitors from different regions. Our WordPress hosting solutions are designed to support multilingual WordPress websites and help deliver reliable performance to international audiences.
If you need assistance with setting up a multilingual WordPress website or are looking for WordPress-optimized hosting, you can contact us at support@jump.bg.